|
10/1/2016 0 Comments Got Worms? Fun facts: Worms don’t have eyes or teeth. Though they can’t see, they are sensitive to light and will become paralized if they are subjected to it for too long. Finally, there’s no such thing as a boy worm or a girl worm – they have both parts! I recently decided to start composting as a way to reduce my waste output and get some rich fertilizer for my mom’s plants. Much to my family’s horror, I’m doing it inside! The general reaction to this is: “What?! How can that be?! Doesn’t it stink? Aren’t you going to have worms crawling all over your house!? Gross!” The answer: “No, no, and no.” For those of you who know me, you know that I have a tough time keeping anything alive. Case and point, I killed a mature cactus last month. Disgraceful. If you’re anything like me, rest assured. Worm farming has proven to be the easiest thing I’ve ever done – it practically takes care of itself! Pros of Worm Farming:
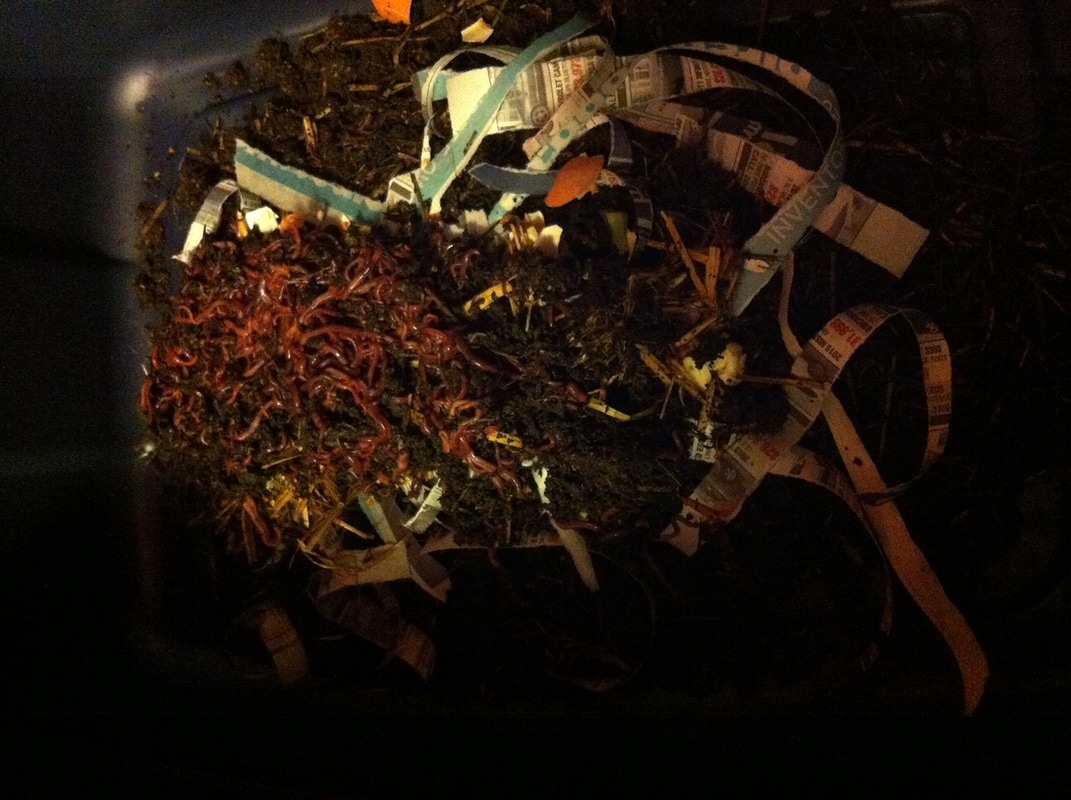
I bought my worms from a local business called Nature’s Perfect Plant Food. They are based just south of Steinbach where they harvest their worms from the ground, however a lady named Jen sells them on their behalf in Winnipeg! She was great and answered all my questions. Check out their website and get in touch with them here. Step One: Prepare your bin 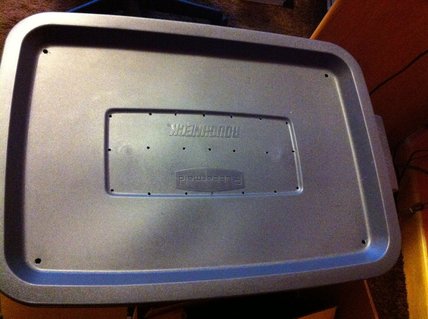 Your worm bin needs to be opaque (you can’t see through it) as worms are very sensitive to light. I got a 38 litre Rubbermaid bin from the store for $8.00 which seems to be the perfect size for my small family. Drill some holes into the top to allow oxygen to get into your bin – without the holes, your poor little worms will suffocate! The holes don’t need to be too big so your worms won’t crawl out. (They won’t do this anyways except if you have a problem in your bin – more on that later) *Make sure not to pile anything on top of your bin which will cover the holes and cut off the oxygen supply. Step Two: Add the Compost 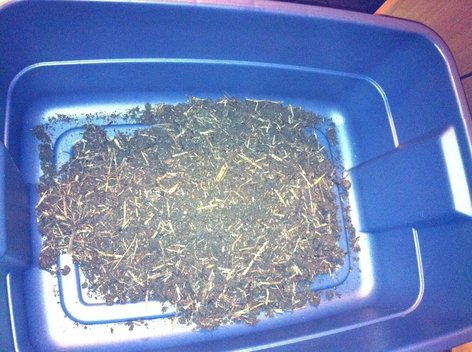 Worms are like chickens in the way that they need some “grit” to help them digest what they eat. This compost (soil) will help with that. You can also add some crushed up egg shells or coffee grounds to the soil. Step Three: Add the Bedding 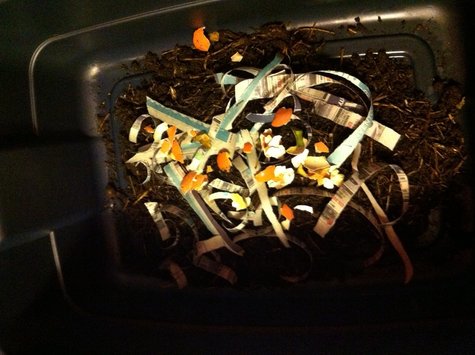 The bedding allows your bin to maintain a proper pH level so it doesn’t stink and your worms are happy. If it starts to smell, add some extra bedding to balance out the food content and absorb any excess moisture. Worms are happy to eat paper (newspaper or shredded junk mail is really good, stay away from glossy paper or coloured paper), egg cartons, coffee filters, and tea bags. You can also use grass clippings in the summer and dry leaves in the fall. I plan to try and save some this fall to use the following winter. Step Four: Add Your Worms!
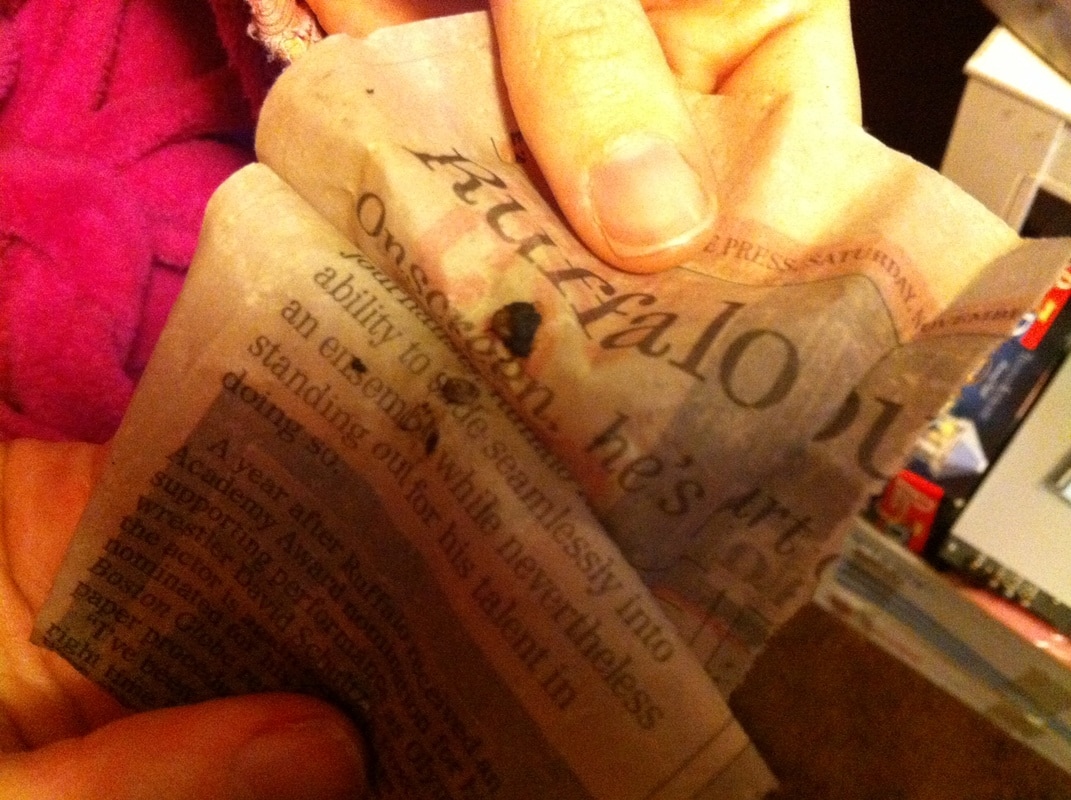
When purchasing worms for vermicomposting, you need to buy Red Wrigglers. They have an insane appetite and can eat half their weight in food each day. Earth worms from your garden won’t work as they need a more stable soil environment and they don’t eat as much. The second picture is of a worm egg. Jen was kind enough to separate some for me so I could see what they look like – I’m sorry that it’s tough to see but it’s the little white dots on the newspaper. Step Five: Feed Them! 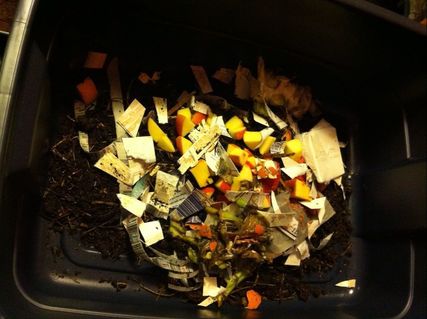 Worms can eat any plant waste including fruits and vegetables except for citrus (lemons, limes, oranges are a no-go) and onions. They cannot eat dairy, meat, bones, or any refined/manufactured foods. Those foods will create oil in your bin and clog up the environment. Think of your worms as mini vegetarians.
*Note: I wasn’t thinking and I cut up the milk carton the worms came in so that I wouldn’t lose any worms (some of them are like tiny threads when you get them!) Worms can’t eat cardboard that has the waxy coating on it, such as milk cartons. I just took the pieces out a few days later when the worms had all climbed off them. If Disaster Strikes: I am currently dealing with a minor catastrophe as I was being lazy and dumped my entire waste bucket into my bin, liquid and all. My bin smells terrible, there’s water in the bottom, and my worms have migrated to the sides and top of my bin. This is a clear sign that I did something wrong as your bin should never stink, it’s basically its own ecosystem that takes care of itself. I shouldn’t have put the liquid in as the environment makes its own liquid and too much can drown the worms. I scooped as much of the water out as I could and added lots of shredded paper bedding to absorb the excess liquid. Hopefully this will solve the problem as I’ve read it should! I’m also going to be getting a second bin and drilling a couple small holes into the bottom of my current bin. The current bin will go inside the new one so the liquid can drain and I can use that as “Compost Tea” which is diluted in water to water my plants. Manitoba’s Green Action Centre website is a great source to read about Vermicomposting and other green initiatives, I strongly encourage you to check them out for more tips! They talk about things that I didn’t dicuss here, such as how to harvest the castings, and they provide a list of places to buy worms, though I really do recommend going to Jen – she was so great! What are you doing to “green up your life” in 2016? I’d love to hear all about it! Also, if you have any composting tips, feel free to share them in the comments! Have a great week, wishing you each a Happy New Year and all the best in 2016! Love, Ash
0 Comments
Your comment will be posted after it is approved.
Leave a Reply. |
|
Search by typing & pressing enter

 RSS Feed